A definitive guide to refill your candle container in easy steps
One thing candle-making has taught me is that making great burning candles was not so easy, but not anymore! Anyone with just a slight idea of what they’re doing can create amazing candles with the Refill My Candles Kits. We provide great tools and simple steps to craft the most beautiful candle you’ve ever made. Here is a brief rundown of the steps so you can see just how simple it is to do with our specially selected ingredients.
Step 1: Measure
The first step is to measure the dimensions of the container you’re going to make the candle in. You need two metrics; the diameter of the container and its volume. If you don’t have a measuring container, you can use the measuring jug in the candle-making kit.
Step 2: Do Some Math
The next step is to understand the quantity of wax required. For this, you can multiply the volume of the container by 0.77. The result will be the grams of wax flakes you need to fill out the container. If you don’t want to go through the hassle of finding a calculator, we tucked in a neat little chart in the box that does the math for you.
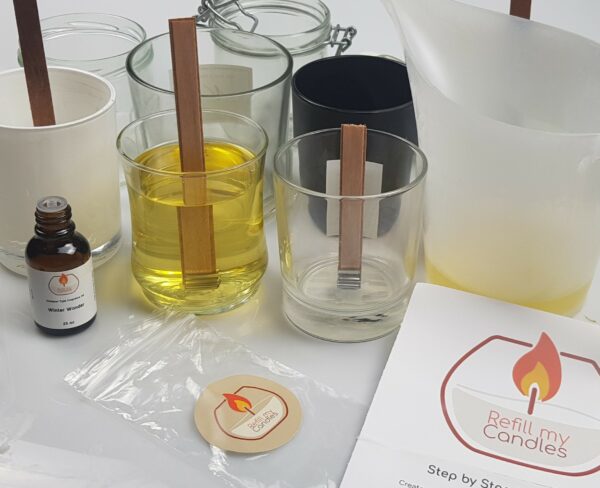
Step 3: Melt the Wax
Now that you have the right amount of wax ready you can melt it. Refill My Candles wax is super easy to melt and we will show you how to do this with very little equipment in just a few minutes.
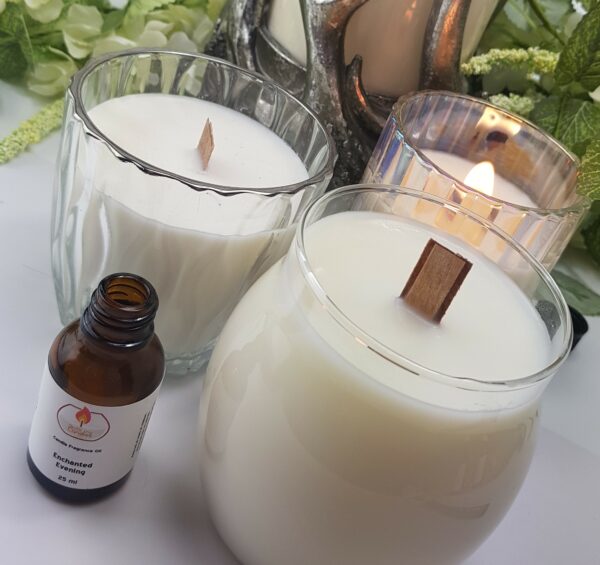
Step 4: Add the Scents
This is where you make your candles extra special! Pour in your scent and stir the wax for a few minutes allowing the fragrance to blend with the wax. If you don’t stir, the candle won’t have a consistent smell throughout its life.
Step 5: Let it Sit
Before you pour the scented wax into your container, place the container somewhere safe, so you will not knock or have to move it after you have poured the wax in. Pour the wax slowly between the wick and edge of your container, trying not to splash it over the top of the container. We advise you leave it to set overnight or for atleast 8 hours for the wax to harden and set completely.
Step 6: Fire it Up
Now that your candle is ready, cut the wick about a centimeter above the candle top. It’s recommended to light it up a few times to make sure the wax can travel up the wick. The first time you light the candle, you must burn it for atleast 2 hours or until the wax has melted across the edge of your container. Doing so will give you an even burn throughout the life of the candle.
And that is it! You’ve created the perfect candle that not only smells and looks good, but it also burns amazingly well for such a long time!